
As an Amazon Associate, I earn from qualifying purchases. This post may contain affiliate links.
As we eagerly wait the arrival of Spring, we are working away at the beginning steps of growing our garden. Our seed starting station is all set up, and ready for the seeds to be planted. Below you’ll find my essentials for starting your garden from seed. Including some tips I’ve learned along the way.
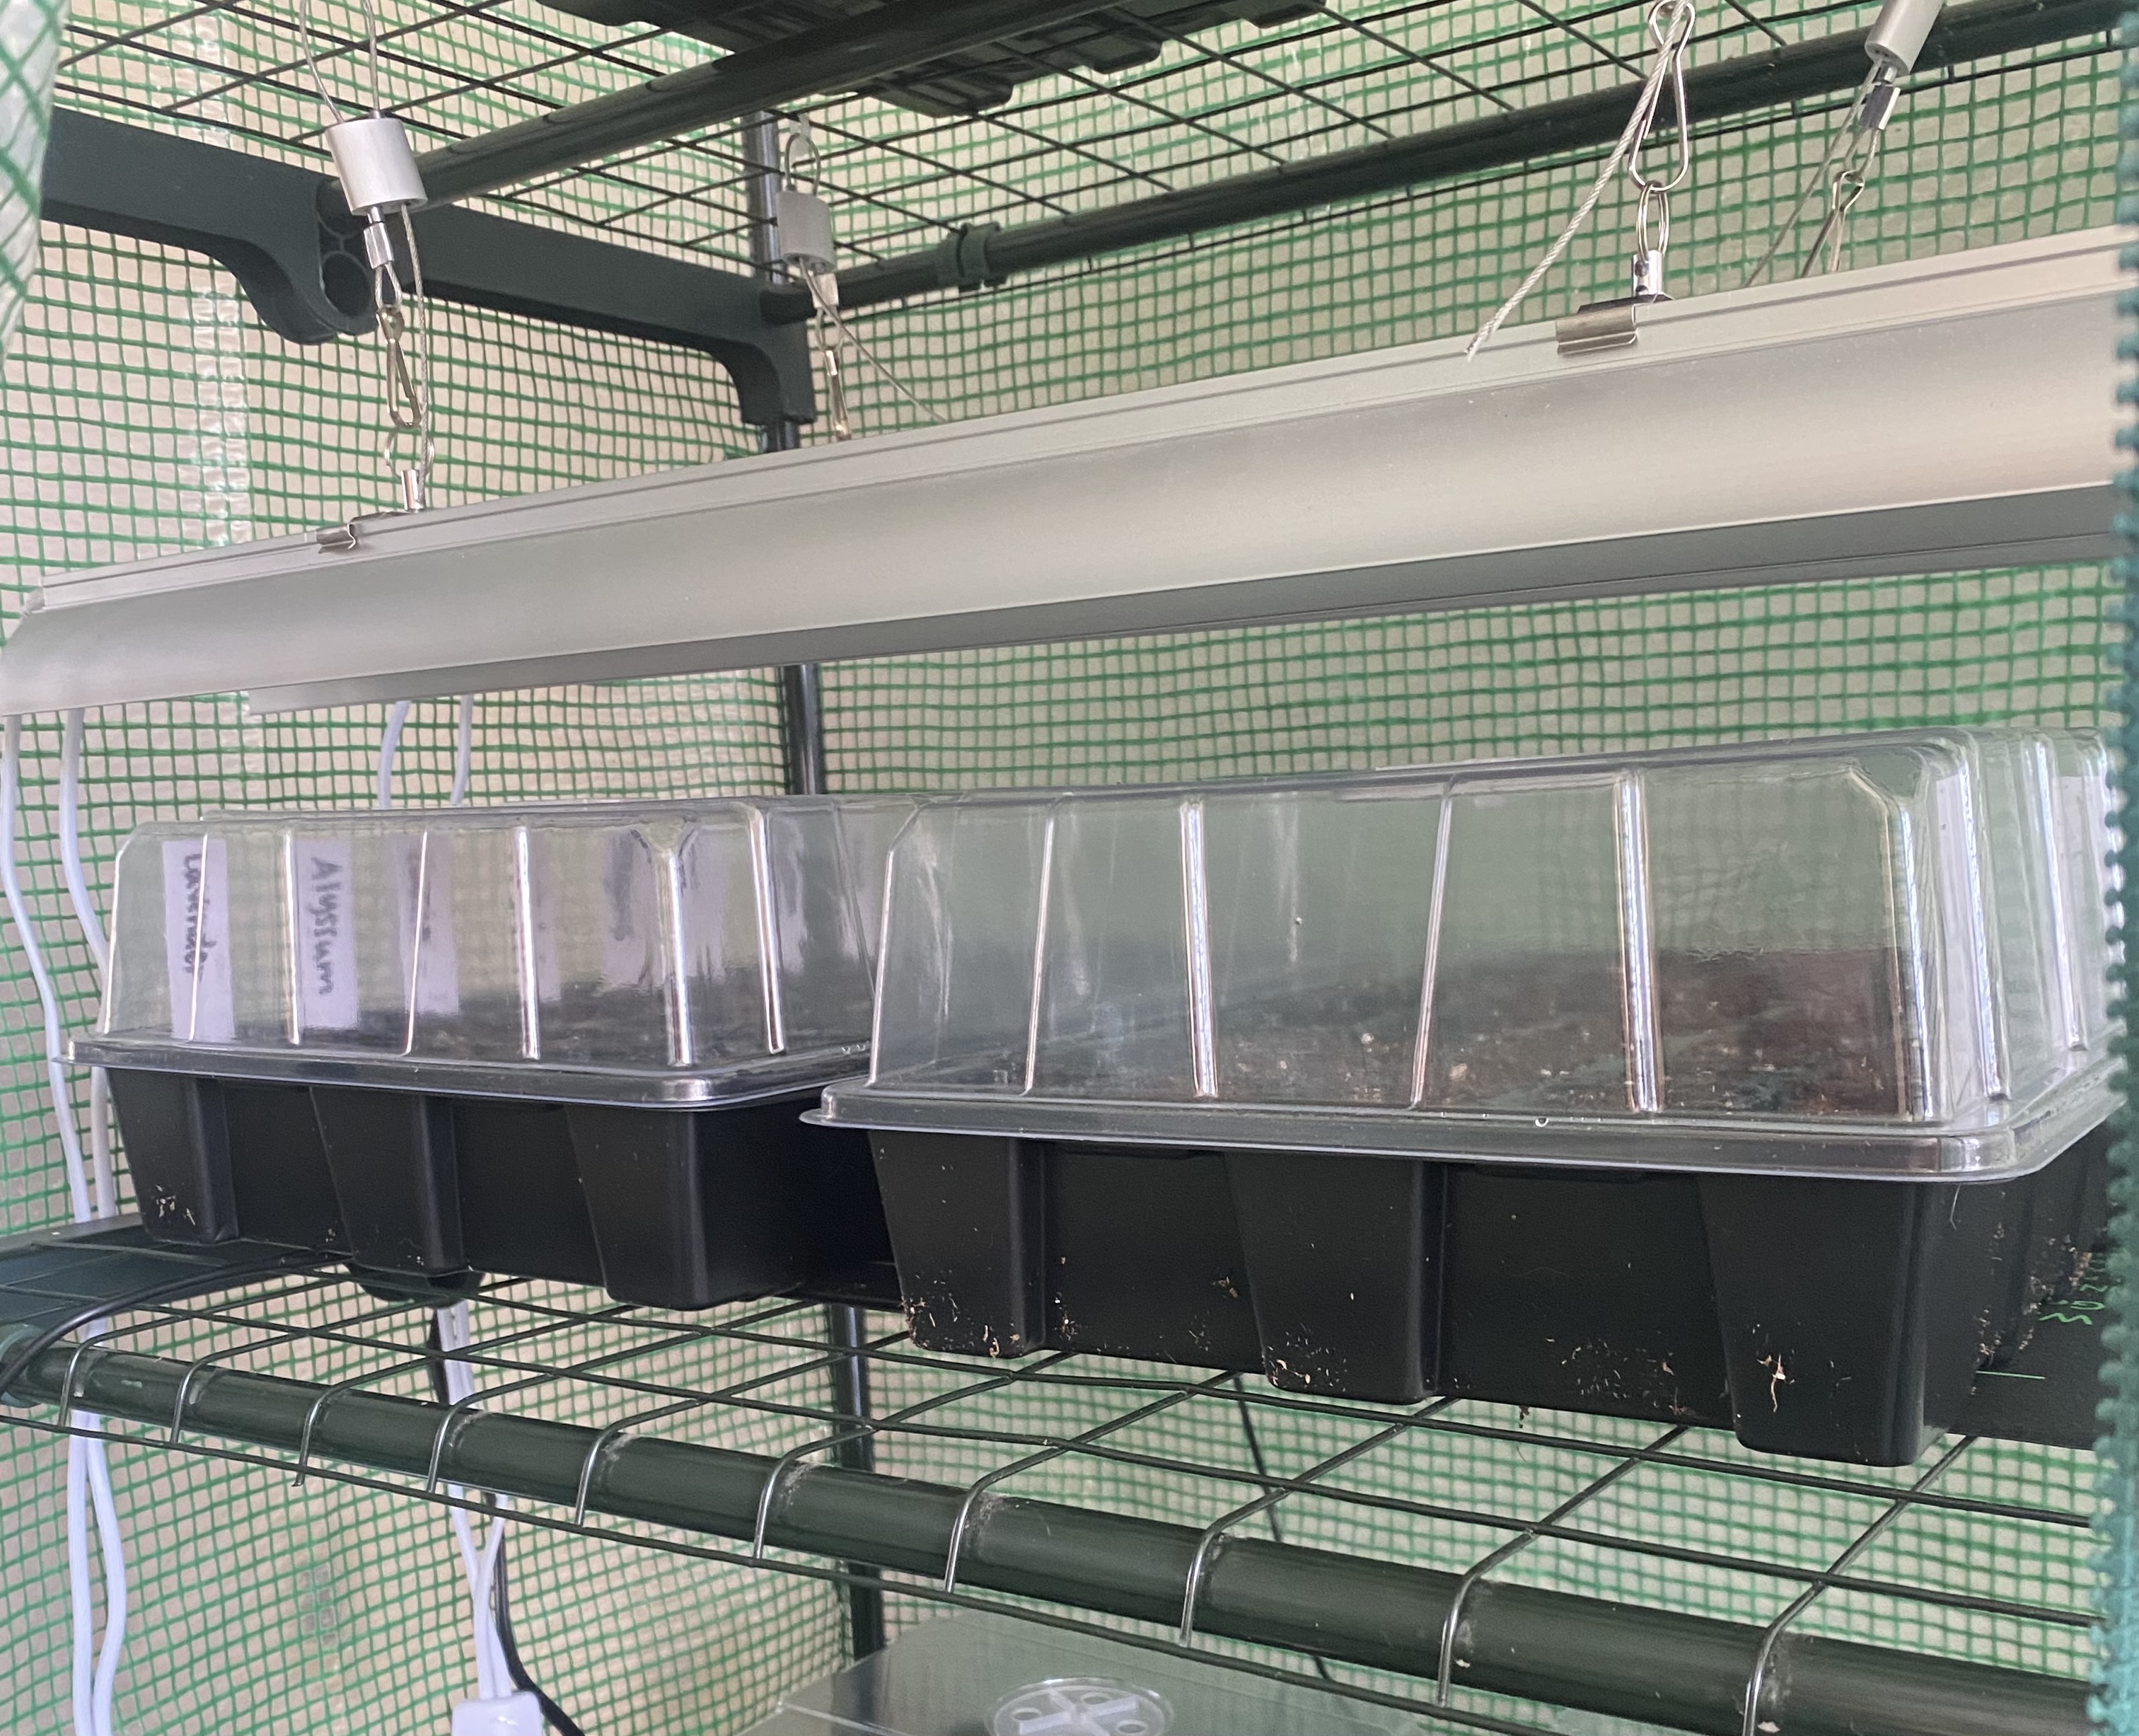
Greenhouse or Shelves — either will work. In the past I’ve used wired shelves set up in my dining room, which has the most natural light. However, this year, I set up my greenhouse in hopes my 18m old won’t destroy all the seed babies. Fingers crossed.
Grow lights & timer — This one I am improving this year, and got 2 more grow lights. In the past, I have only had one light per shelf, and many of my seedlings would turn “leggy”, reaching for the light. This year, I have 2 side by side, to provide ample light for the little babies. I have a timer too, because I don’t always remember to turn off the light at night. We are training these seed babies to live in the real world, where day and night exist. They are adjustable, so you are able to raise the lights, as your seedlings grow.
Heating mat — If your home is naturally 70-73 degrees Fahrenheit, then mats might not be needed. Some seed varieties really like warmth in order to germinate. My house runs between 65-68 in the winter, so these heating mats work great for us.
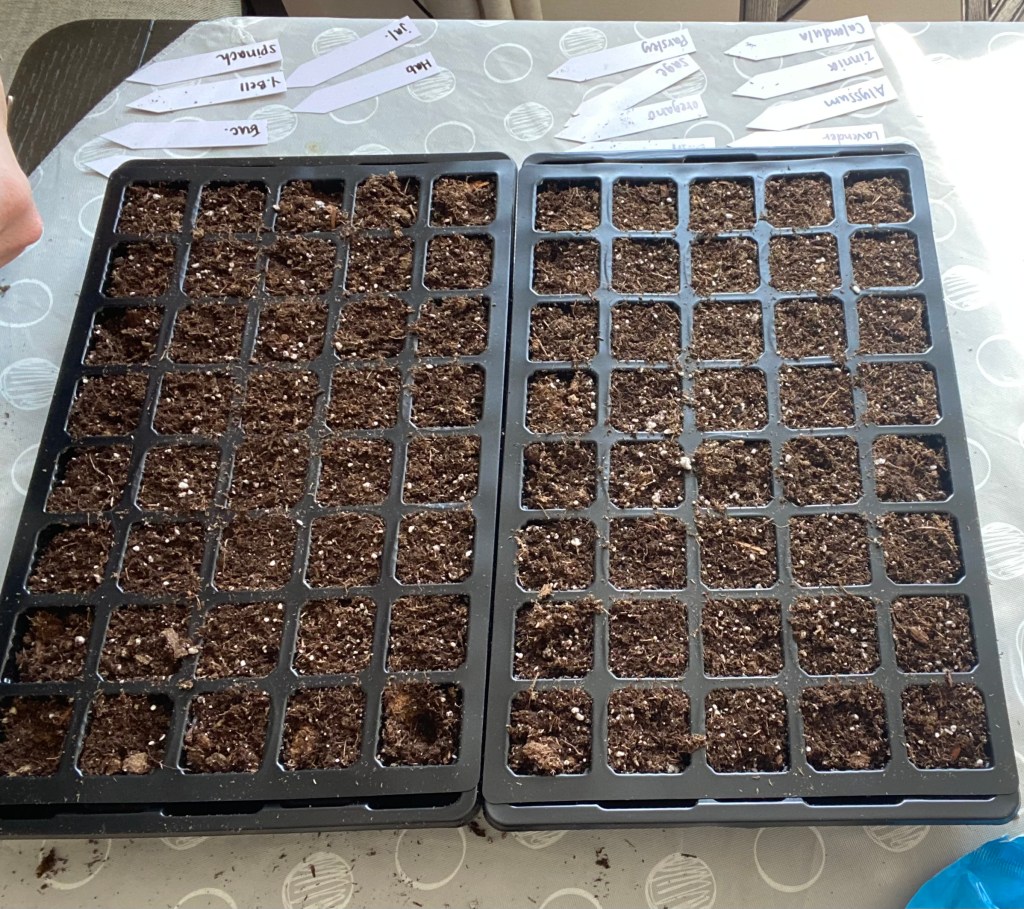
Seed trays — The past few years I have reused seed trays, and just washing them in soaping warm water before planting each year. After 3-4 years of use, it was time to change them out due to cracking. I found these trays on amazon and am really excited about their smaller size, making them easier to carry when it comes time to take them out of the greenhouse.
Quality Seed Starting Soil — The quality of your soil, as well as the type you use, is crucial for success. Think of it as food, right? If we give our babies food with little nutrition, they won’t grow as big and strong as can be. Same goes for plant babies. I have used a few different varieties over the years, and I have found success in Purple Cow Organics and Espoma Organic Seed Mix
Time to Plant
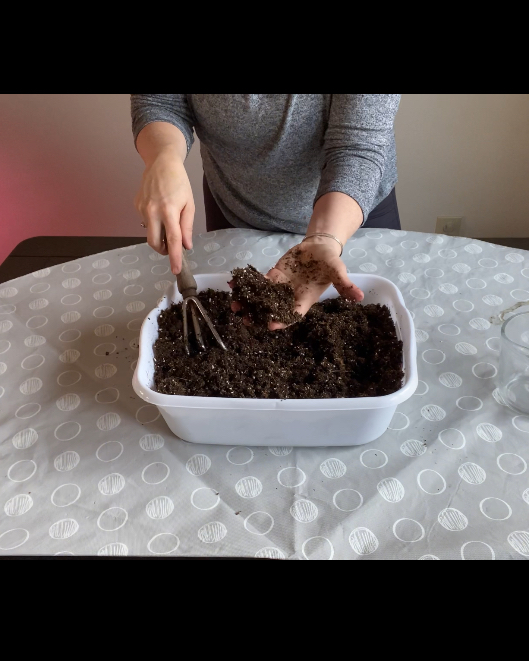
Once your supplies are all set up and ready, it’s time to get your soil ready to be put in the trays. Over the years I have learned that when planting in any kind of container it is important that the soil be a little wet. Not soaking, not damp, wet enough to make a clump when grabbing a fist full and giving it a squeeze. I like to use a big bin and put some soil in with a splash of water and mix it all around with a fork (or your hands), before scooping it into the trays or pots.
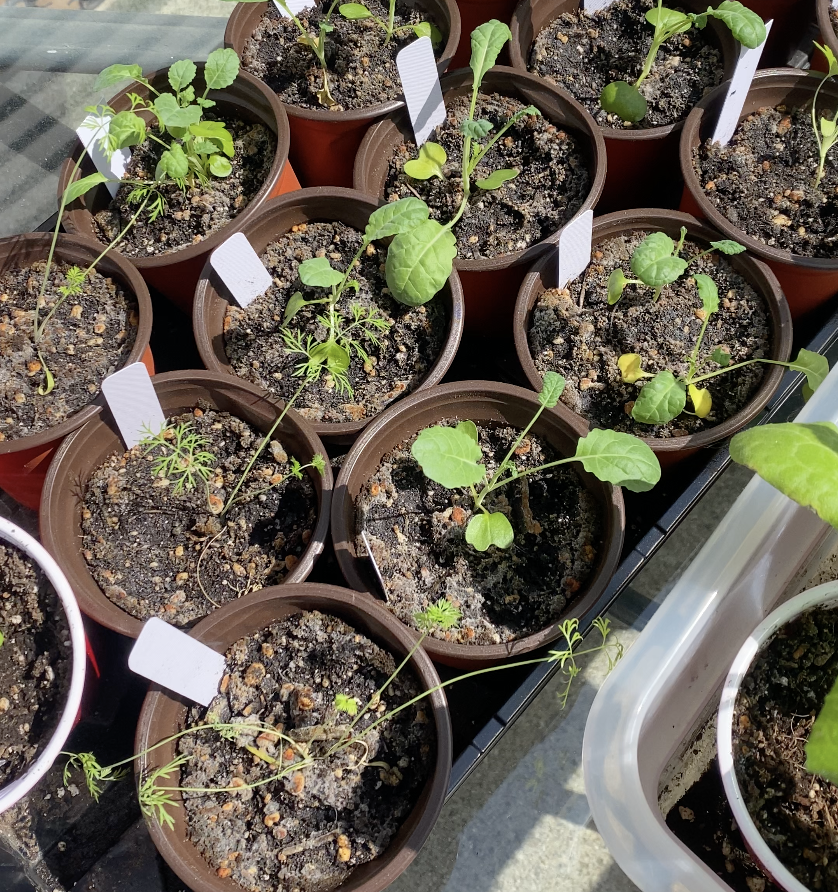
Once your pots are full, the fun begins. In order to guarantee successful germination of each type of seed, I plant a row of each kind of seed I am going to plant. Make sure you are labeling EACH cell, or you’ll run into forgetting which plant is which variety. I promise, there will be forgetting if you don’t… lol. I sometimes wait until I have transferred them into bigger pots. I plant at least two seeds (if they are tiny) in each cell. Once they germinate and a set of leaves develop, you’ll pull or separate them. I will go more into this later.
I bought a set of spray bottles, so I’d have one just for plants, cleaning, grilling, and another for the laundry room.) After the seeds have been planted, I spray the cells with water, put the lids on, and place them back on the shelf on the heating mat. I keep my mat around 70 until the seeds have germinated. I keep the lights off until germination has happened, as well. That way they don’t dry out as fast. Once some seeds have sprouted, I turn on the lights for 10 hours a day. It is important to make sure your trays never dry out. I just spray the cells with water until germination. Once seeds have sprouted, I bottom water the trays by pouring into the tray holding the cells.
Can you plant all seeds at once?
Short answer, you shouldn’t. Why? Because unless you have the room (and loads of light) to house big plants, cucumbers and squash will grow much faster than parsley or tomatoes. A couple years ago I planted every seed at one time, and not only were there so many plants, they all were at different levels of growth, and I didn’t have enough window sunlight to have them at optimal readiness for the garden transfer. Learn from my mistake, and plant according to the seed packets directions. I follow a planting calendar based on the plant hardiness zone, as well as when my last frost date is, based on where I live. For me, I am in zone 6a, so usually my last frost is right after Mother’s Day. You can see what zone you’re in here. I also have found Deanna’s planting calendar very helpful too. You can find that over on her blog, Homestead & Chill, here.

I hope this was helpful, and you feel inspired in taking on your own garden journey. I love that I know exactly were all of my summer garden food came from, and take such pride in that I grew these babies myself! If you have any questions, please don’t hesitate to reach out. I hope you’ll join me on this year’s garden journey on Instagram, too!
Xo,
H
