
The past few years I have been trying to *slowly* swap out processed baked goods, with delicious homemade bread. I was shocked at all of the extra additives that are in the most basic grocery store goods. I love that I can make a few loaves each week, while nourishing my family’s bodies. Bonus points is this bread is my kids’ all time favorite. 🤩 Checkout the bottom of the post for a list of links to my favorite tools, products, and kitchen items.
The Best Homemade Bread
Ingredients:
• 2 TBSP active dry yeast
• 3 C warm water
• ⅔ C Raw Honey (or sugar)-divided
• 1 Tbsp course salt (my fav, here)
• 3 ½ Tbsp melted butter (or olive oil)
• 7C flour
Directions:
1. In a medium bowl. Make a sponge with dry yeast, water, 1/3 C honey, and 4C of flour. Mix well. (I have found using a dough hook works best.)
2. Cover and let rest for 30-45 min. (Until doubled in size)
3. Add in butter, salt, ⅓ C honey, and 2 1/2C flour.
4. Mix well with a dough hook, or wooden spoon. (If using a kitchen Aid, about 4-5 min. On medium low.) Mix until dough is pulling off the side of the bowl. Add up to ½C flour more if needed— one tablespoon at a time.
5. Transfer mixture to large greased bowl, and let rise until doubled in size (30-45 min.)
6. Punch dough, and knead out air pockets in a floured service. Divide into 2 or 3 loaves, and knead out air pockets before placing them in greased loaf pans. (Add sprinkle of flour as needed.)
7. Let rise covered until doubled in size. (About 30 min.)
8. Bake at 350F for 22-25 minutes. Tops are golden, and bottom corners are a light golden brown.
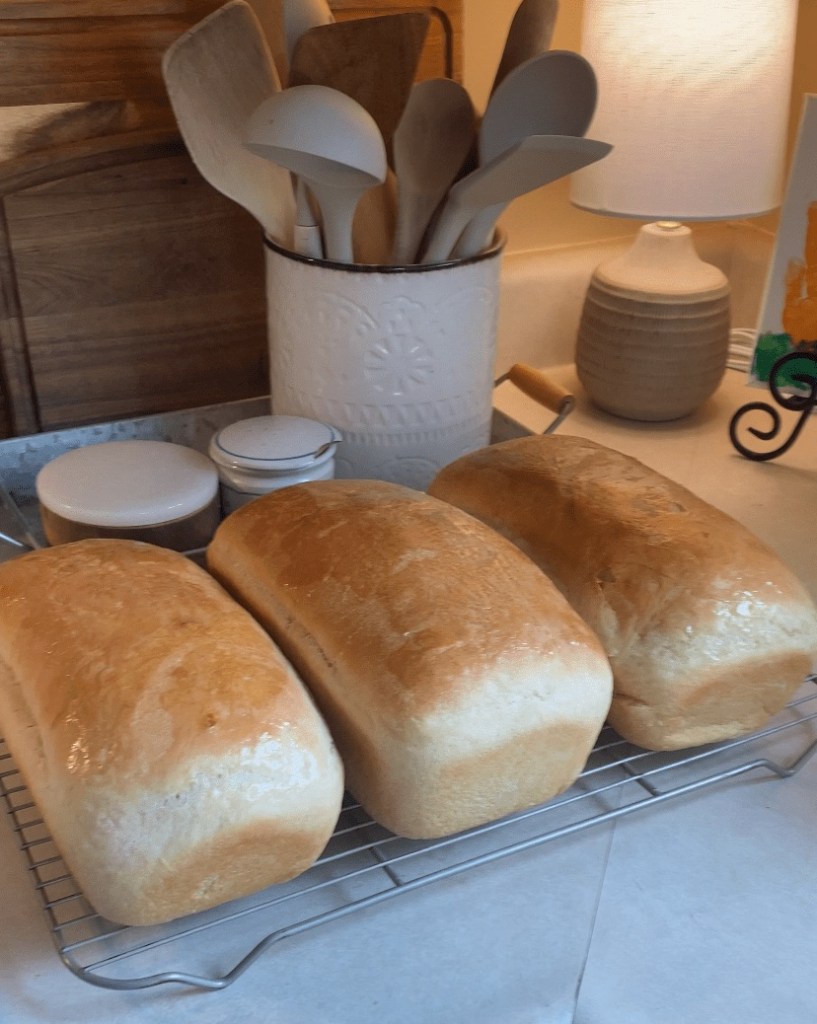
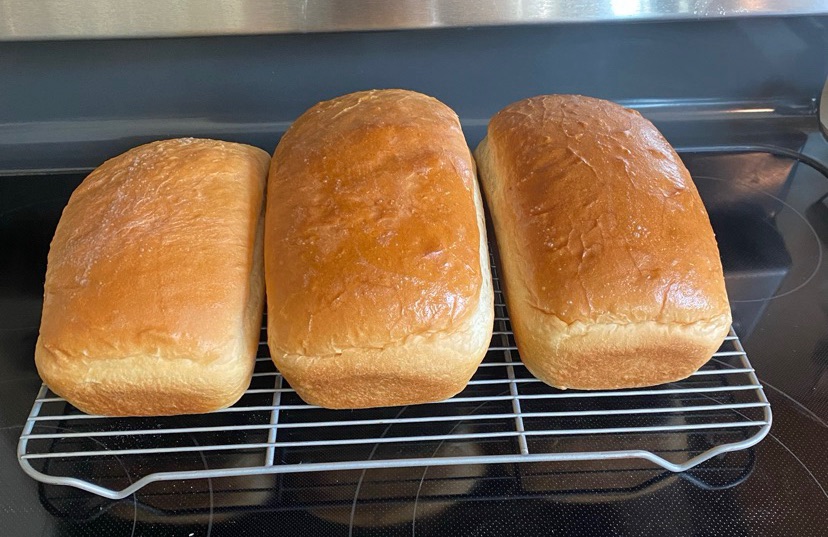
9. Remove from oven and take out of pan and let cool on a cooling rack.
A few of my favorite gadgets & supplies:
1. The baking pans— they do matter! I have tried nonstick, glass, stainless steel, and I have only had the *best* success with the nonstick. Stay tuned, because I’m still working on swapping these out.
2. Dough Hook— this might be the best, most versatile tool I have. It is a mix between a spoon and a whisk, and is perfect for mixing just about anything! These Amazon ones, have great reviews and are a great price.
3. Cooling rack— the key to the best bread is allowing it to cook, immediately coming out of the oven. You have to remove it from the pan and allow it to cool on a rack, like pictured below.
4. Kitchen Aid— although not at all necessary, it is one of my most used appliances. Great to invest in, if you are working in the kitchen a lot.
5. Bread bags— after my bread has cooled, I plop them into a bread bag, and freeze them. I pull a loaf out as needed, always having one for a back up.
If you’re anything by if like me, this will change your life, and you’ll probably never go back to buying bread from the grocery. It’s SO good. You’re going to love it! ✨
Be sure to follow along on Instagram, and stay tuned for more delicious recipes!
Xo,
Holly
